

close
Choose Your Site
Global
Social Media
Views: 0 Author: Site Editor Publish Time: 2025-09-29 Origin: Site


Hidden doors are no longer just movie secrets. Today, they add style, security, and creativity to modern homes. Choosing the right door hardware makes these installations smooth and long-lasting. In this article, you will learn how to install door hardware kits for hidden or specialty doors with clear, practical steps.
Hidden and specialty doors are no longer rare luxuries. Many homeowners use them to combine style, creativity, and functionality. To install these doors properly, the right door hardware is essential. In this section, we'll explore what makes these doors unique, the parts inside a hardware kit, and how they differ from standard setups. You'll also see how to select the best kit for your project.
Hidden doors are designed to blend into their surroundings. A bookshelf that swings open, a sliding panel in a hallway, or a mirror that doubles as an entrance are common examples. Specialty doors may also include concealed barn doors, Murphy doors, or flush-mounted panels. Their purpose ranges from saving space to adding security or creating a stylish focal point.
Most kits come with specialized parts that ensure smooth, invisible function:
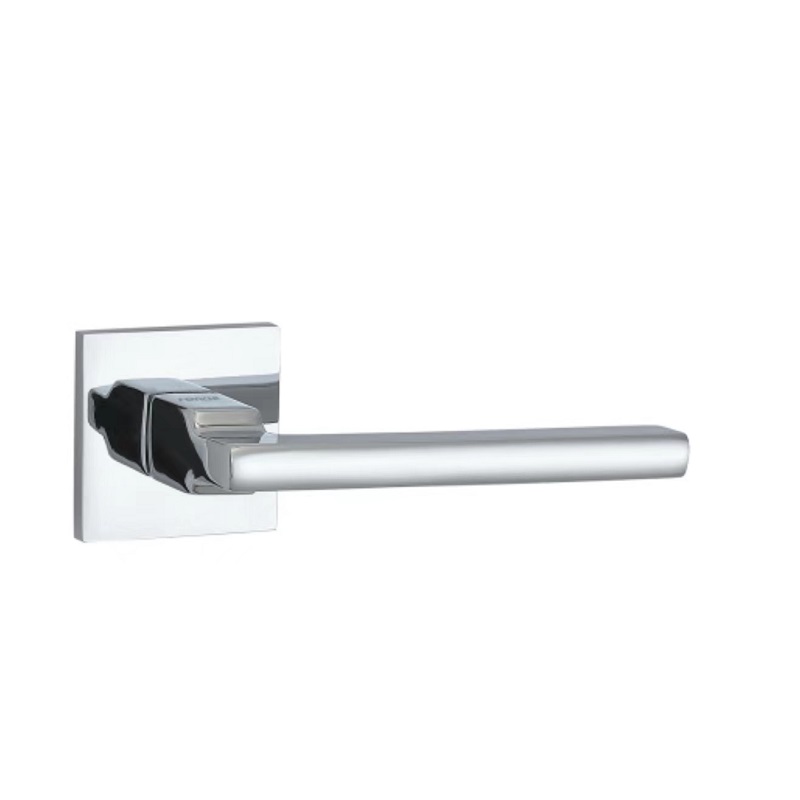
● Hinges: Often hidden pin or pivot hinges that carry heavy loads.
● Tracks: Used in sliding systems to guide movement without floor rails.
● Rollers: Keep the door slab steady and aligned.
● Catches and plates: Hold the door shut when closed.
● Stoppers: Prevent the door from sliding too far.
● Guides: Maintain correct position and reduce wobble.
These components work together to create seamless movement while keeping the door hidden.
Standard doors usually use visible hinges, simple knobs, and a basic latch. Hidden and specialty doors demand more advanced systems. For example, concealed sliding kits avoid floor tracks to preserve a clean look, while Murphy door kits include furniture-grade frames. Specialty hardware often supports heavier weight and tighter tolerances to keep the door flush with walls or furniture.
Feature | Standard Door Hardware | Specialty Door Hardware |
Visibility | Hinges and latches visible | Concealed or integrated systems |
Load Capacity | Light to medium | Heavy-duty, up to 300 lbs (needs verification) |
Purpose | Function first | Aesthetics, concealment, and function |
Installation | Basic tools | Precision tools and exact measurements |
Before buying, measure your opening carefully. A misaligned kit will ruin the hidden effect. Think about the door's purpose: is it for novelty, storage, or security? Choose hardware rated for the door’s weight and material. For example, a mirrored hidden door may need stronger hinges than a lightweight panel. Always check manufacturer guidelines, as each kit has limits for thickness, clearance, and swing direction.
Before installing hidden or specialty doors, preparation is critical. A well-organized setup saves time and prevents costly mistakes. By gathering the right tools, measuring carefully, and preparing the frame, you set a strong foundation for smooth door hardware installation.
Most hidden door kits include specialized parts, but you still need a reliable toolkit. Keep the following on hand:
● Drill or screwdriver for attaching hinges and guides.
● Level to keep tracks, hinges, and frames aligned.
● Allen wrench for tightening concealed hardware components.
● Measuring tape for accurate frame checks.
● Self-tapping screws and fixing nails for secure fastening.
● Pencil or marker for layout lines.
Optional tools like a jigsaw or sander may be required if trimming is necessary. Always double-check the kit manual, as tool needs vary.
Precision determines success in hidden door projects. Even a few millimeters off can cause gaps or sticking. Start by measuring the rough opening in three spots—top, middle, and bottom. Record the smallest dimension to ensure a snug fit.
Also, measure door thickness and confirm it matches the hardware kit’s capacity. For sliding systems, check the track length against the slab width. For swing doors, confirm hinge clearance by adding 2–3 mm spacing. Always measure twice before drilling.
Once measurements are complete, focus on the frame. The surface must be flat, plumb, and free from debris. Uneven framing can cause misalignment, leaving the hidden door visibly imperfect.
Steps to prepare the opening:
1. Inspect studs and framing for warps or cracks.
2. Use shims to level out irregular gaps.
3. Mark hinge or track placement directly on the frame.
4. Ensure the floor is even—hidden doors demand stable support.
For concealed sliding systems, confirm that the wall surface is flush to avoid rubbing. For Murphy-style or bookcase doors, reinforce the jamb to handle heavy weight.
Note: Always inspect wall studs before mounting heavy door hardware to prevent sagging or structural issues.
Hidden swing doors depend on precision. Unlike standard doors, these installations use specialized door hardware to stay invisible yet functional. A careful step-by-step approach ensures stability, seamless appearance, and long-term durability.
Start by marking where the hinges will sit. Hidden pin hinges must be flush with the door and frame. Use a level to mark straight lines, ensuring both top and bottom hinge locations align. Incorrect placement can cause the slab to drag or expose gaps. Always confirm hinge depth matches the hardware kit’s instructions.
Once locations are marked, install the top hinge first. This hinge carries much of the load, so secure it with heavy-duty screws. Next, mount the bottom hinge, checking for alignment with the top. Reinforcing the jamb with shims or blocks may be needed if the frame is uneven. Strong hinges prevent sagging and help keep the door flush.
After hinges are in place, position the door slab. Lift it carefully, as many hidden doors are heavy. Align it so the edges sit flush against the wall surface. The goal is a seamless look with no visible gaps or protruding hardware. Check from multiple angles to ensure the illusion is maintained.
Hidden doors need to close firmly without obvious knobs. Install magnetic catches or latch plates provided in the kit. For access, use recessed pulls or edge-mounted handles that don’t break the surface line. Concealed handles keep the door functional but invisible when not in use.
Check how the door swings before final tightening. Small adjustments may be needed to avoid rubbing against the frame. Maintain clearance gaps of 2–3 mm to allow smooth movement. If your hardware kit supports reversible swing, confirm left or right direction suits the space.
Open and close the door several times. It should glide smoothly without resistance. Listen for squeaks or scraping—these signal misaligned hardware. Ensure that when closed, the slab blends perfectly with the wall or surrounding furniture. Properly installed door hardware makes the movement both silent and discreet.
● Misaligned hinge placement causing uneven gaps
● Over-tightening screws leading to warped frames
● Forgetting to check wall plumb before installation
● Using the wrong screws for heavy slabs
● Skipping clearance checks before final adjustments
Mistakes at this stage can ruin the hidden effect, forcing rework. Precision is always worth the extra time.
Concealed sliding doors bring elegance and space-saving benefits. They depend on precise door hardware to ensure smooth motion and a clean, hidden look. Careful preparation and correct assembly guarantee long-term reliability.
Begin by carefully unboxing the slab and hardware kit. Lay out all components, such as tracks, rollers, and guides, to confirm nothing is missing. Let the slab rest indoors for 24–48 hours. This step allows it to adapt to room temperature and humidity, reducing warping during installation.
The track is the backbone of a sliding system. Measure and mark the track length to match the door slab's width. If needed, trim the track to size. Mount it securely above the doorway, using a level for straight alignment. Add soft-closing stoppers at both ends to prevent slamming and ensure quiet operation.
Next, install rollers on the top edge of the slab. These rollers must be centered to prevent wobbling. Secure them firmly, but avoid overtightening. On the floor, add a bottom slab guide. This keeps the door aligned while it slides and prevents swaying. Both components work together to support heavy panels.
Decide whether the door should slide left or right. Attach wall-mounted rollers if required by the system. Place the slab on the track and into the bottom guide. Test the motion, adjusting roller tension or stopper placement as needed. The door should move silently, without resistance or gaps.
Not every hidden or specialty door looks the same. Some styles highlight rustic charm, while others create seamless concealment. The right door hardware allows homeowners and designers to experiment with unique features, whether through barn doors, bookcase doors, or custom panels.
Barn doors combine practicality with design impact. A sliding barn door can conceal closets, hallways, or storage spaces while saving floor area. Hardware kits typically include:
● A top-mounted track system
● Rollers designed for heavy slabs
● Stoppers to prevent over-travel
● Decorative straps or brackets
For a rustic finish, select matte black or oil-rubbed bronze hardware. When installed correctly, barn doors slide quietly and create an intentional design statement while offering partial concealment.
Bookcase and mirror doors create the most dramatic hidden entrances. These doors use specialty hardware that can handle extra depth and weight. Kits often feature:
● Pivot or pin hinges rated for heavy loads
● Reinforced frames to support shelving or glass
● Concealed catches to secure the door when closed
A bookshelf door blends into libraries or studies, while a mirrored panel is ideal for bedrooms or hallways. Both options require precise measurement and framing so the illusion remains intact.
Some projects require non-traditional designs, such as panel walls, double French hidden doors, or even disguised cabinets. Custom hardware kits allow flexibility with:
● Adjustable hinges and tracks for non-standard widths
● Reinforcement plates for oversized slabs
● Concealed pull systems for access without visible handles
These solutions are common in high-end residential or commercial spaces where aesthetics and functionality must align. Contractors often combine off-the-shelf kits with custom fabrications for one-of-a-kind projects.
A hidden or specialty door is only complete when it blends perfectly with its surroundings. The right door hardware finish, concealed seams, and thoughtful security elements create a polished look that hides in plain sight while remaining practical.
Door hardware should match the overall room style. Bronze finishes add warmth to rustic or vintage spaces. Stainless steel works best in modern interiors with clean lines. Nickel, especially satin or brushed, offers a versatile middle ground. Selecting the right finish ensures the door complements existing fixtures, such as light switches, cabinet pulls, or stair railings.
Even the best installation can be spoiled by visible seams. Use trim pieces or paint-matched caulking to hide lines between the door and wall. Flush hinges and tight tolerances make the slab appear as part of the wall. For bookcase doors, align shelving patterns so edges are indistinguishable. Proper frame concealment is key to maintaining the illusion of invisibility.
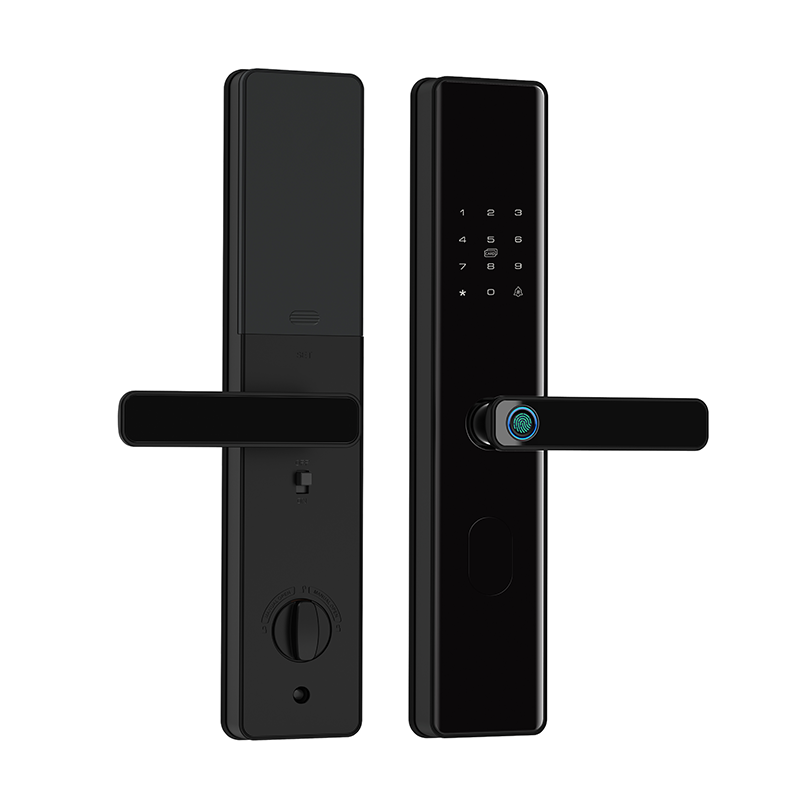
Many hidden doors are designed for privacy or safety. Adding lock hardware does not have to expose the door. Options include:
● Magnetic locks operated with hidden keypads
● Concealed deadbolts on the door edge
● Push-to-release latches built into the frame
These systems protect access while preserving a clean, uninterrupted surface. For projects requiring both security and design, specialty lock hardware offers a practical solution.
Hidden and specialty doors are built to last, but their performance depends on proper upkeep. Regular maintenance ensures door hardware works smoothly, reduces wear, and preserves the door's invisible design.
Dust and grime can build up in tracks and rollers, causing friction. Wipe them with a soft cloth and mild cleaner every few months. Avoid harsh chemicals that may damage finishes. Apply silicone-based lubricant to rollers and hinges for smoother movement. Do not over-lubricate—too much attracts dirt.
Hidden doors require tight alignment, so even small shifts matter. If the door scrapes or sticks:
● Check if hinges or rollers are loose.
● Confirm the frame is still square.
● Adjust clearance gaps by tightening or loosening screws.
For sliding systems, inspect the bottom guide to ensure the slab stays on track. Early fixes prevent long-term damage to both hardware and framing.
Even high-quality hardware has limits. Replace components if you notice:
● Hinges sagging or cracking under weight
● Rollers no longer gliding smoothly
● Tracks bent or warped from impact
● Catches failing to hold the door closed
Most door hardware kits can be replaced part by part. Swapping out worn components is cheaper than replacing the entire system.
Proper installation of door hardware ensures hidden or specialty doors stay smooth and durable. Choosing the right kit for your skill level and project needs is essential. Investing in quality hardware delivers both security and style. Foachi offers reliable products and services, with unique advantages that help users achieve seamless hidden door solutions and add long-term value to their spaces.
A: Most door hardware kits include hinges, tracks, rollers, stoppers, and catches.
A: Measure the rough opening at the top, middle, and bottom to ensure accurate door hardware alignment.
A: Specialty door hardware supports heavier slabs, conceals seams, and provides a seamless hidden look.
A: Replace door hardware if hinges sag, rollers stick, or tracks show damage.


